A number of years ago I unveiled them for the Saturday evening Schützenfest Bloody Mary bar and they received rave reviews. Plunk one of these dill spears in your cocktail and you will think you have died and gone to heaven. Just the right balance of salt, dill and garlic. Tangy with a refreshing crunch! For a special taste treat lay a spear alongside a natural casing wiener in a bun and top with spicy mustard. I digress.
You're probably wondering what the secret ingredient is, eh? Ca(OH)2 – calcium hydroxide – commonly known as slaked lime or pickling lime.
Here’s the recipe.
Start with a sink-full of freshly-picked, scrubbed and rinsed pickle cukes.

click on images to enlarge
Fetch your pickle barrel. Everyone should have a five gallon bucket. They are indispensable. My bucket might have originally held cat litter. Nevertheless, it also appears to be food-grade since it doesn’t stain or absorb odors. I use it to brine meats and fish, haul butchered venison and assist in pickle-making. I even made sauerkraut in it one year. In a pinch you can sit on it in your deer stand and keep your thermos, lunch and toilet paper inside where it won't get wet. Like I said - they're indispensable.

The secret to really crunchy pickles is liming them. Combine one cup of pickling lime with two gallons of cold water and mix thoroughly. Add to the bucket. Add additional lime and water until your cuke spears float freely in your pickle barrel. Snap-on the lid and put it in cool place like the cellar overnight.

Fill the sink full of slices with cold tap water and let them soak for a bit. Drain and repeat this two to three more times. Then fill the sink again and let your cukes soak for three hours in cold fresh tap water. Following the rinse cycle drain in a colander and start your brine.
Basic brine. In a non-reactive pot combine one quart of white vinegar with two quarts of water with ¾ cup of canning salt. (Canning salt is not iodized). This should be sufficient for a dozen quarts of pickles. Increase proportionately for larger batches. You can also save leftover brine – just put it in jars, cap and use the next day or next weekend for anything calling for a basic salty vinegar brine. Bring the brine to a boil.

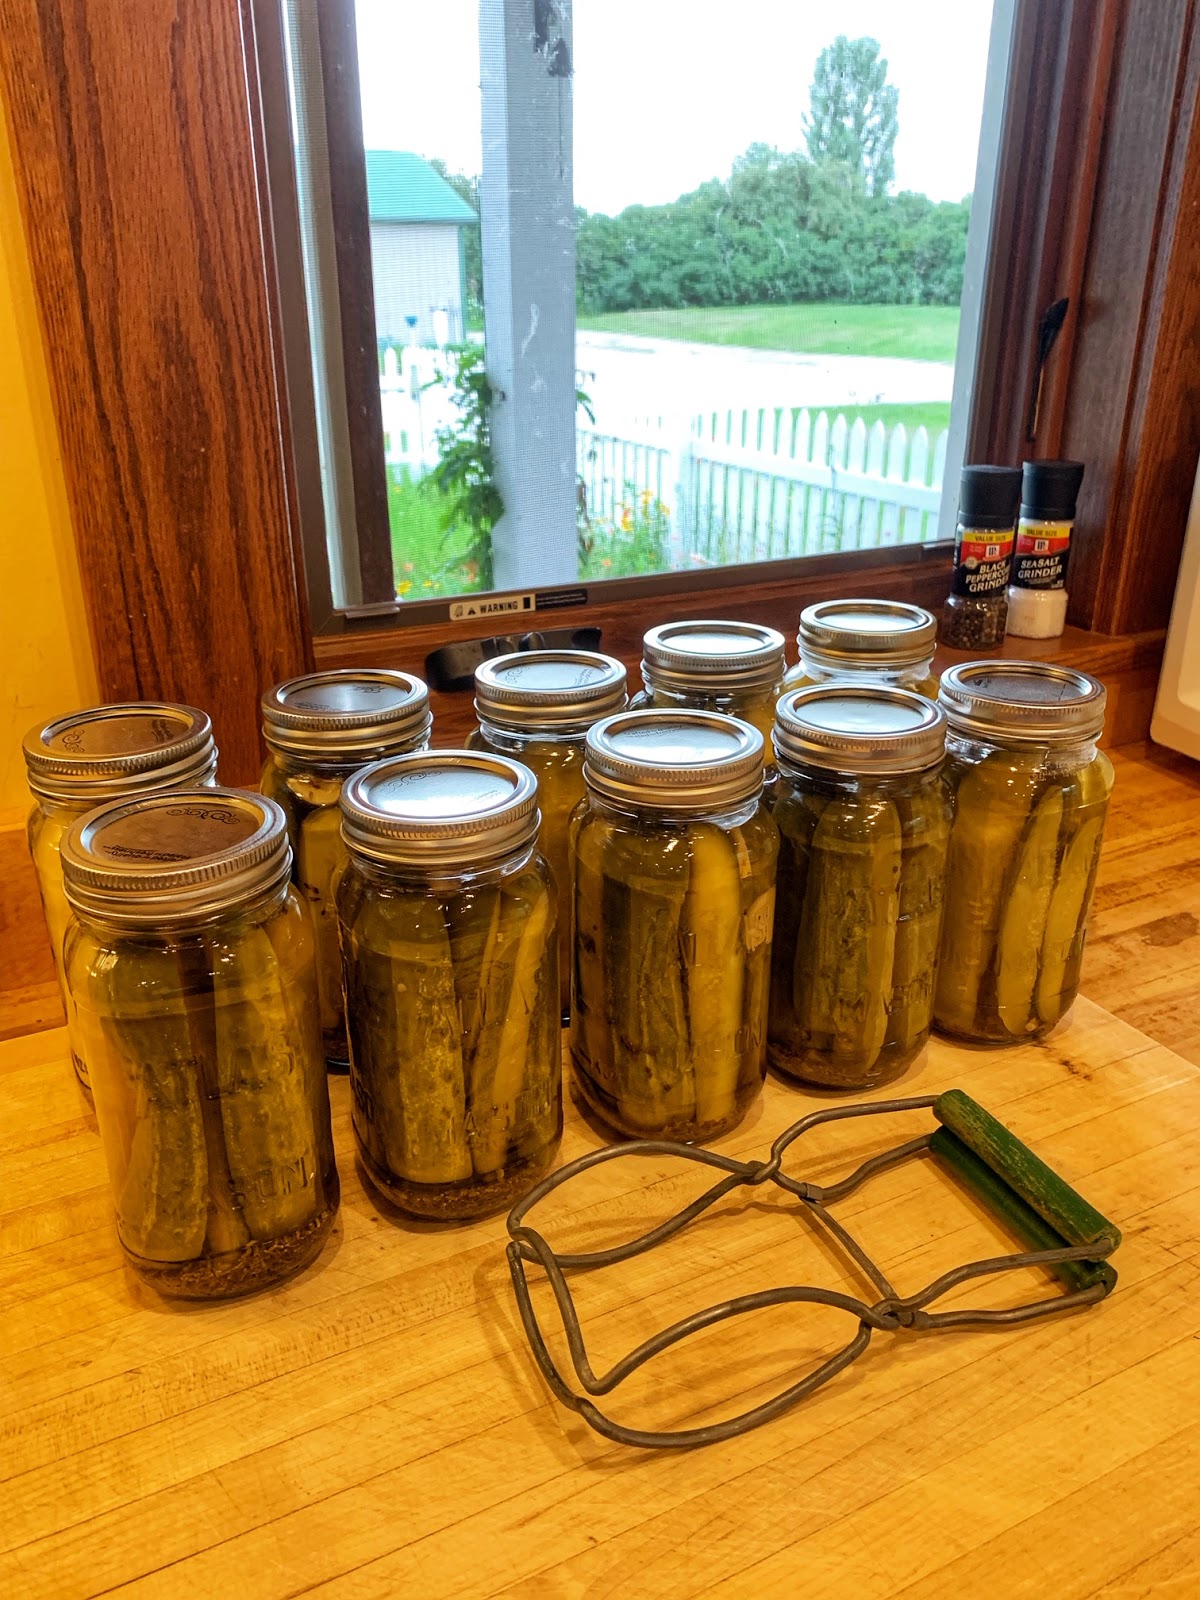
While the brine is heating pack your jars. Into each jar place one peeled garlic clove sliced in half. Add dill seed. I am partial to Penzeys dill seed but any will do. 3 t of seed for quarts and 1 ½ t for pints. Pack the jars with your pickles. Pack tightly but don’t force the slices.
Fill the packed jars with the boiling brine leaving a half-inch of head space. Add your lids and bands and process in a boiling water bath for 15 minutes. Remove and allow to cool. When the lids pop your jars are sealed properly.
*A word about the jars and lids. Sterilize your jars by immersing them in boiling water or running them through the dishwasher on the 'sanitize' cycle. Lids are easy - heat a Pyrex measuring cup of water to a boil in the microwave and drop the lids in the hot water to sanitize them. Fish them out with a tongs.


No comments:
Post a Comment